
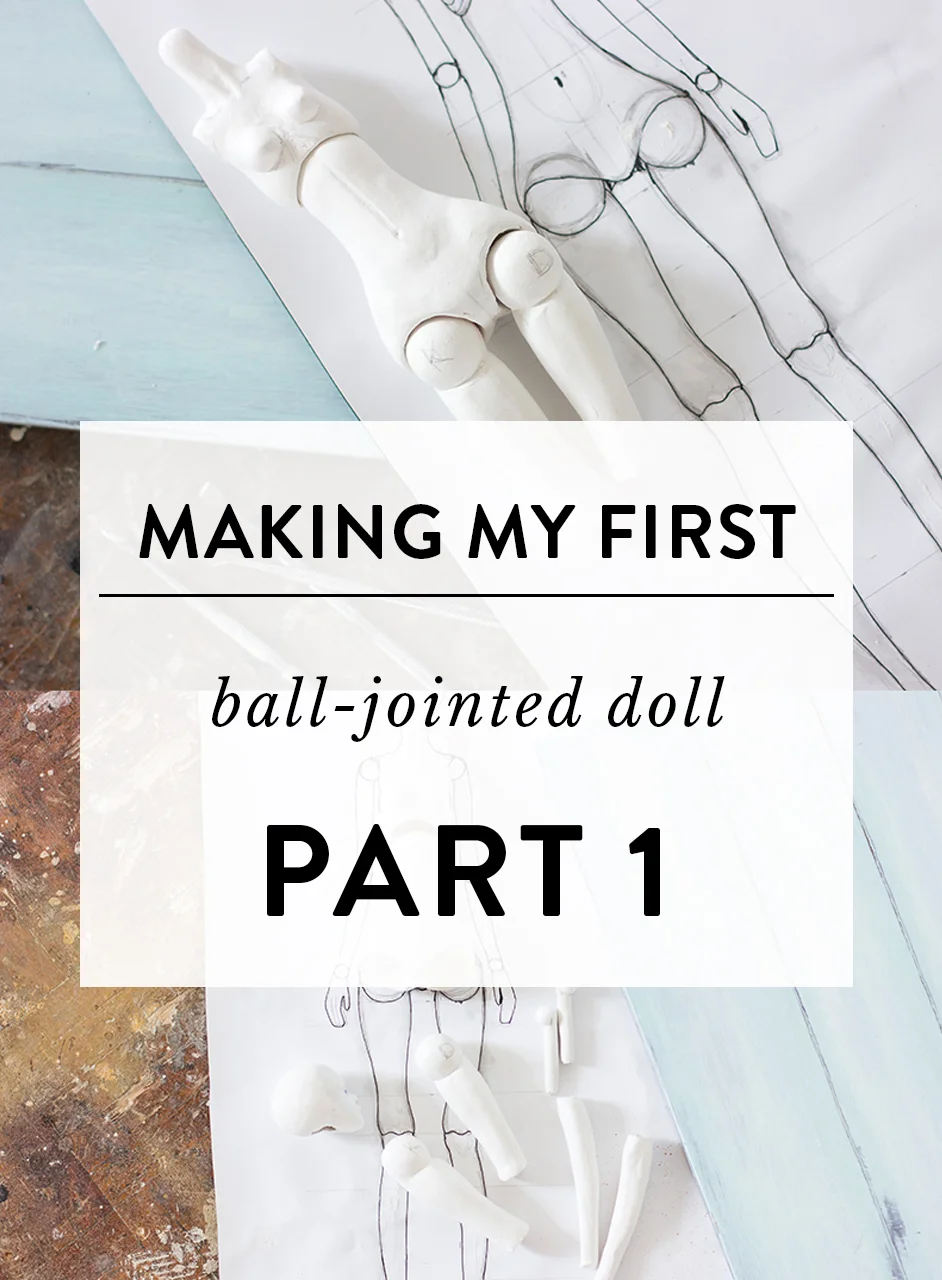
Making my first BJD doll: Part 1 - Rough sculpt
I don't know if I mentioned it before, but BJD (ball-jointed doll) has been my goal for more than a year now. However, leaving a full-time job and starting my own business forced me to postpone this idea. Don't get me wrong, fulfilling orders and creating OOAK dolls is my dream job. Yet I always had these restless thoughts of creating my own BJD doll. I don't know how long it'll take and if I'll succeed or not, but I want to invite you to peek behind the curtain and join me in this creative journey.
This post contains affiliate links and I will be compensated if you make a purchase after clicking on my links. I wouldn’t promote anything I don’t absolutely love!
Materials I use for my first BJD doll
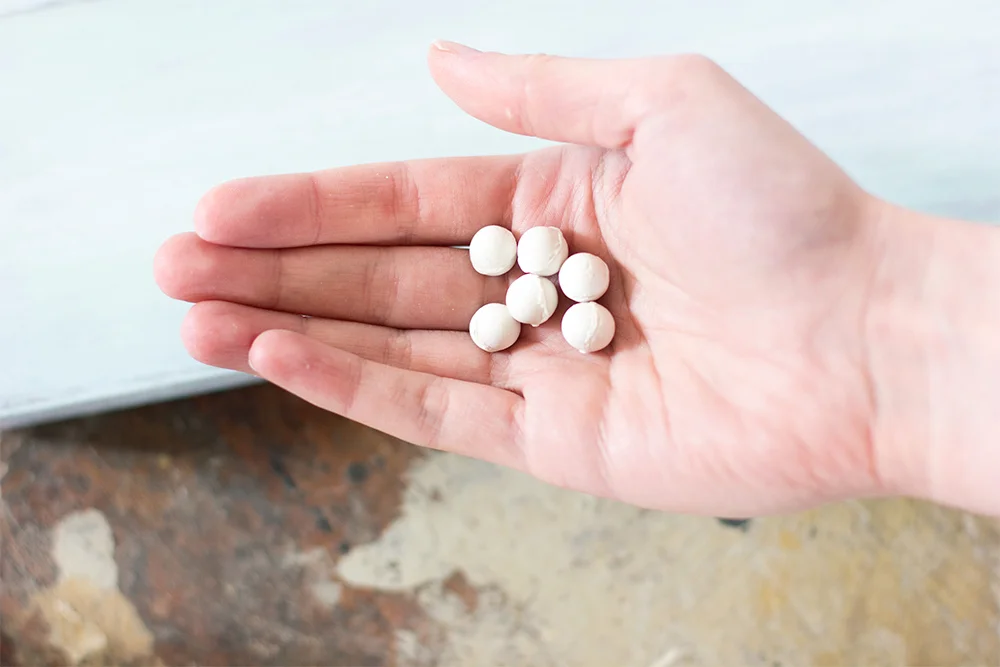
Now, when I started sculpting process, I know that I need more tools to carve out hollow parts of the body. Also, I'm still in search of round beads which would fit my dolls size. I'm not planning to sculpt all the balls myself because I don't think I'd achieve the perfect roundness. Especially because it's my first BJD doll. Have in mind that material list is not final yet. I'm still figuring things out!
Clay
As I mentioned in my "Doll making series" my favourite clay is "La Doll", so for this BJD prototype I'm using "La Doll" as well. This clay is easy to work with, strong and lightweight. Sculpting even the tiniest details is painless! Also, I like how effortless it is to carve the hollow parts and form the sockets for joints.
Tools
Recently I purchased a set of stainless steel wax carving tools. And I think I'm in love, haha! Sculpting never was easier. These wax carvers remind me a dentist toolset, they are sharp and precise, so it's easier to reach even the most delicate parts like nostrils or eye corners.
Styrofoam and drinking straws
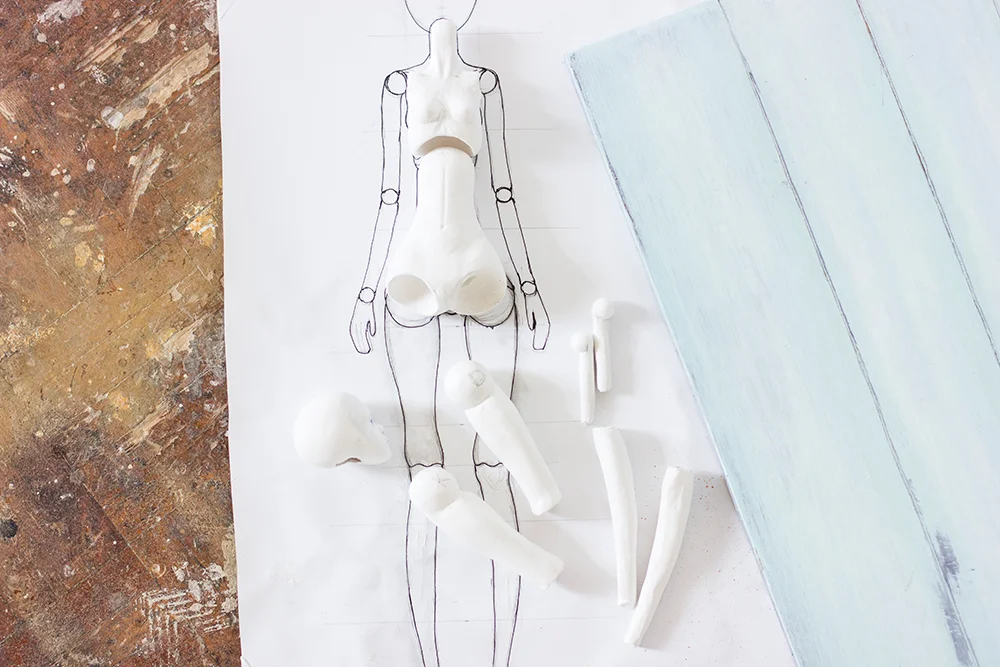
At the beginning, the big question was, how to make the doll parts hollow? After searching the internet for hours I found a few options: using styrofoam and removing it later, using a stick or a tube as a base and removing it after the few layers of clay or to use drinking straws as a base. I chose styrofoam for the head and drinking straws for the rest of the body.
Sandpaper and sanding sponge
Even though I really hate sanding it's a must. At the rough sculpt stage there's not a lot of sanding involved, but some parts (like joints) have to be perfect from the beginning. To achieve the excellent roundness I have to sculpt and sand, sculpt and sand again...
Dremel rotary tool
I love and use my Dremel tool for all of my dolls, but it comes in handy even more while making a BJD doll. Drilling, shaping joint sockets and sanding large areas was a lot quicker than doing it with mechanical tools. You can find more information about it in an article about my favourite tools.

The biggest challenges
Before I even started to sculpt my first BJD doll, I already knew that this will be a very challenging process. I knew that I'll see all the flaws in my sculpting techniques and I'll have to learn new ways to sculpt dolls. Oh my, I was so right... The biggest problem from the beginning was to achieve symmetry. Constantly measuring, sculpting, sanding and carving dolls' parts not always gave the results I wanted. There were some days while shaping a torso for a few hours I'd see that one side is so much different than the other. It's been so frustrating! I have some tricks on how to achieve that perfect symmetry for sculpting dolls' face, but none of them was working on the separate pieces like legs or arms. So I have to trust my eye, which is trained well, but not enough.
Another difficulty I have is the most important part of the ball-jointed doll: joints. When I've decided on how my doll should be able to move and what poses I'd like it to do, I had to research the technology behind it. At first, it seemed fairly easy, balls and sockets – what's so hard about it? Well, I was wrong once again. Achieving the perfect roundness even with the casted balls was a tricky thing. The tiniest imperfections on the joint cause the movement disturbance. For example, now I have one leg which moves in a slightly different angle than the other leg, I'm guessing that the problem is with one of the sockets, since the balls are identical. Now I'm working on double joints for the knees and the elbows, I'll say just one thing: double joints - double problems, haha.

Next step for me is to finish the rough sculpt and start detailing the body. I can't wait to do that! If you have any questions or observations don't hesitate to share them in the comments. See you next month with another progress update.
Do you want to get all the updates and special offers directly to your inbox? Sign up for my monthly letters and join the doll lovers community!

Part 2
Continue reading